Step by Step Guide to Mastering the Kayang Yoga Pose

Are you ready to master the Kayang yoga pose? This powerful position not only enhances your strength but also boosts your flexibility. By following a few essential steps, you can achieve the perfect form and enjoy the benefits of this pose. Remember, proper technique is crucial for both safety and effectiveness. As you practice, you'll notice improvements in your body awareness and mental well-being. So, let’s dive in and get started on this rewarding journey!
Key Takeaways
Set up your mat on a flat surface to create a stable foundation for practicing the Kayang pose.
Engage your core muscles to enhance stability and protect your spine as you lift your hips.
Focus on your breath; using techniques like deep breathing and Ujjayi breath can improve your practice and mental clarity.
Make small adjustments to your position if you feel discomfort, such as widening your feet or bending your elbows.
Practice regularly, aiming for two to three times a week, to build strength and flexibility over time.
Celebrate your progress, no matter how small, and enjoy the journey of connecting with your body through yoga.
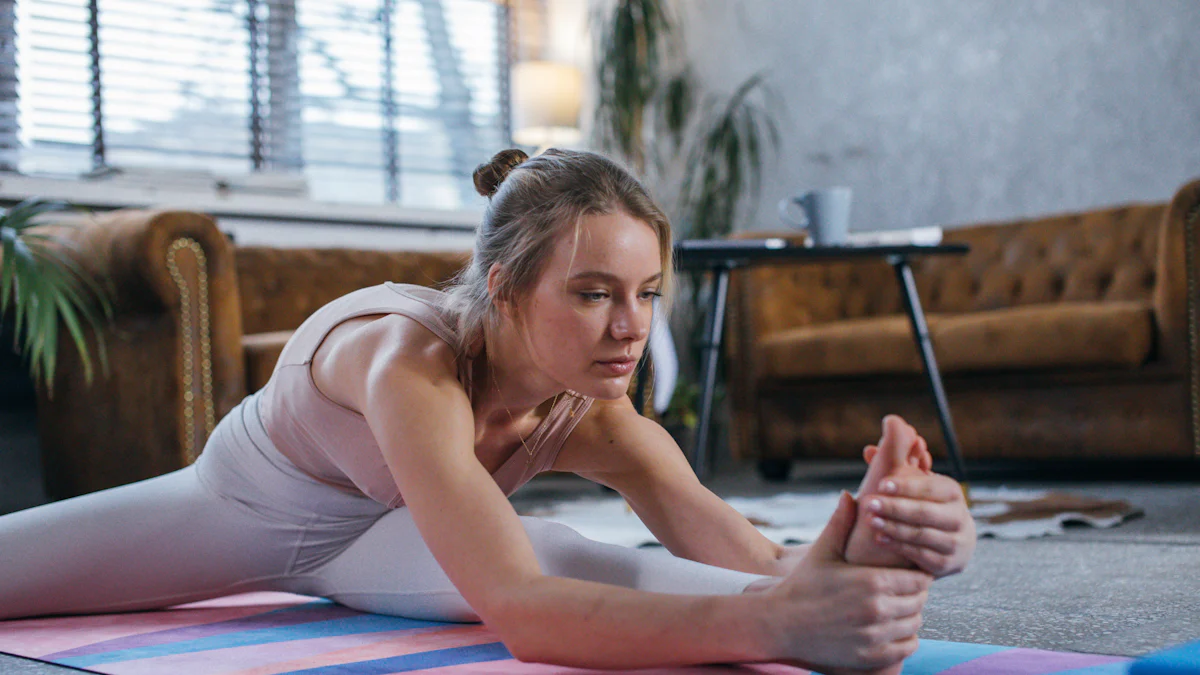
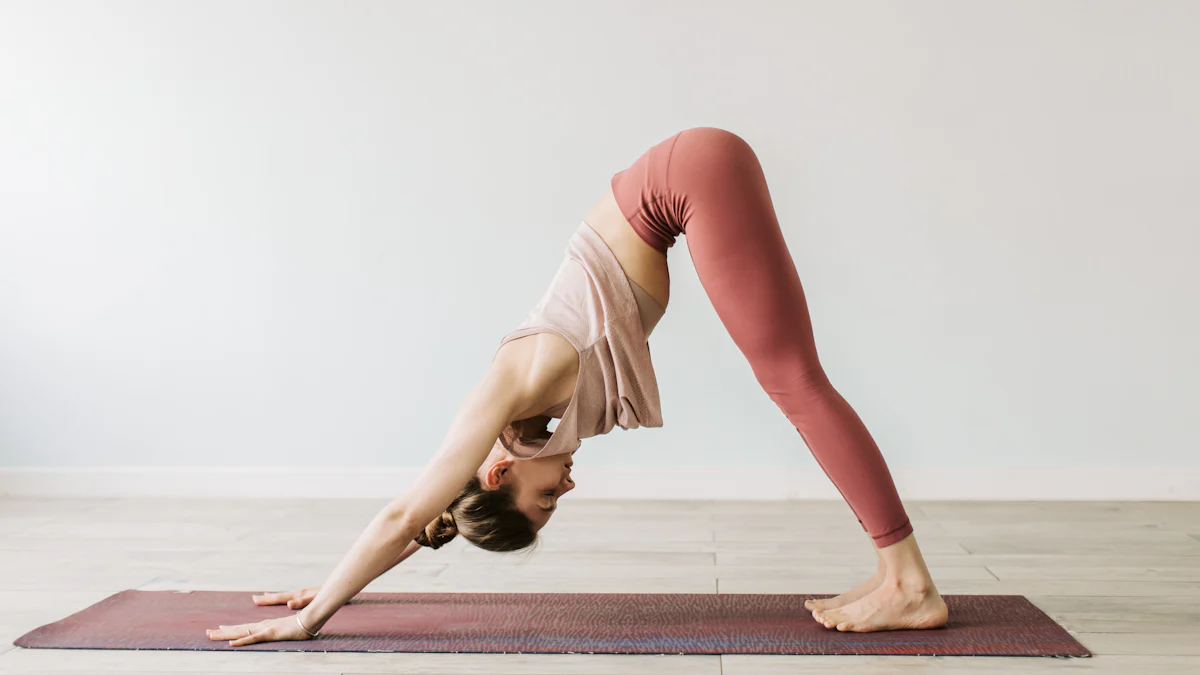
Incorporate warm-up poses like Downward Dog and Pigeon Pose to prepare your body for the Kayang pose.
Starting Position
Setting Up Your Mat
Before you begin, make sure your mat is set up properly. Find a flat surface where you can practice without distractions. Lay your mat down, ensuring it’s smooth and free of wrinkles. A stable foundation helps you maintain balance during the Kayang yoga pose. If you have a yoga block or blanket, keep it nearby for added support.
Positioning Your Body
Now, it’s time to position your body correctly. Lie on your back with your knees bent. Place your feet flat on the floor, close to your buttocks. Your feet should be hip-width apart. This alignment provides a solid base for lifting your hips later. Next, position your hands beside your head. Your fingers should point towards your shoulders. This setup prepares you for the lift and ensures you engage the right muscles.
Expert Testimony:
Researcher from MeraMuda emphasizes, "Seek insights from yoga instructors on the correct setup and positioning for the Kayang pose to ensure proper technique." Following expert advice can enhance your practice and prevent injuries.
Engaging Your Core
Engaging your core is crucial for stability. Take a moment to feel your abdominal muscles. Draw them in gently, creating a strong center. This engagement supports your lower back and helps you maintain balance as you lift. Remember, a strong core not only protects your spine but also enhances your overall performance in the Kayang yoga pose.
Incorporating essential poses like Downward Dog and Pigeon Pose into your warm-up routine can effectively open tight areas and elongate your spine. This preparation allows for a smoother transition into the Kayang pose, making it easier to achieve the desired form.
Lifting the Hips
Initiating the Lift
Now that you’ve set up your body, it’s time to initiate the lift. Press your hands firmly into the mat. Your fingers should point towards your shoulders, providing a solid grip. As you push through your hands and feet, engage your core even more. This engagement helps stabilize your spine.
Start by lifting your hips off the ground. Imagine your hips rising towards the ceiling. Keep your feet flat and your knees aligned with your ankles. This alignment prevents strain on your joints. Focus on lifting your hips high while maintaining a strong foundation with your hands and feet.
Finding Your Balance
Once your hips are lifted, finding your balance becomes essential. Shift your weight evenly between your hands and feet. You might feel a slight wobble at first. That’s okay! Take a deep breath and adjust your position.
If you struggle with balance, try widening your stance. Move your feet slightly apart for a more stable base. Keep your gaze steady, looking towards the floor or slightly ahead. This focus helps you maintain your balance as you hold the pose.
Remember, practice makes perfect. With each attempt, you’ll improve your stability and confidence in the Kayang yoga pose. Enjoy the process and celebrate your progress!
Feeling the Stretch
Understanding the Stretch
As you hold the Kayang yoga pose, you’ll start to feel a deep stretch throughout your body. This stretch primarily targets your back, chest, and shoulders. You might notice your spine elongating and your chest opening up. Embrace this sensation. It’s a sign that your body is benefiting from the pose.
Stretching not only enhances flexibility but also improves your overall balance. Research shows that regular yoga practice significantly boosts flexibility and balance. So, as you feel the stretch, remember that you’re working towards greater physical health.
Adjusting Your Position
If you find the stretch too intense, don’t hesitate to adjust your position. Small changes can make a big difference. Here are some tips to help you find your comfort zone:
Widen Your Feet: If your feet feel too close together, move them slightly apart. This adjustment can provide more stability and ease the strain on your lower back.
Bend Your Elbows: If your arms feel tense, bend your elbows slightly. This change can relieve pressure and allow you to focus on your breath.
Lower Your Hips: If lifting your hips feels challenging, lower them a bit. You can gradually work your way up as you gain strength and confidence.
Focus on Your Breath: Remember to breathe deeply. Inhale as you lift and exhale as you hold the pose. This rhythm helps you relax and enhances your overall experience.
By making these adjustments, you’ll find a position that feels right for you. Yoga is about listening to your body and progressing at your own pace. Enjoy the journey and celebrate each small victory along the way!
Breathing Techniques
Importance of Breath
Breath plays a vital role in your yoga practice. It connects your mind and body, enhancing your overall experience. When you focus on your breath, you create a sense of calm and clarity. This focus helps you manage stress and anxiety, allowing you to fully embrace the benefits of the Kayang yoga pose.
Research shows that yoga breathing techniques, known as pranayama, can improve heart health by optimizing oxygen levels in your body. This improvement reduces stress on your heart and promotes relaxation. So, as you practice the Kayang pose, remember to pay attention to your breath. It can transform your practice and elevate your mental well-being.
Breathing Patterns
Establishing a consistent breathing pattern can enhance your performance in the Kayang yoga pose. Here are some techniques to consider:
Deep Breathing: Inhale deeply through your nose, filling your lungs completely. Hold your breath for a moment, then exhale slowly through your mouth. This technique calms your nervous system and reduces anxiety.
Ujjayi Breath: This technique involves breathing in and out through your nose while slightly constricting your throat. The sound resembles ocean waves. Ujjayi breath increases oxygen flow and helps maintain focus during your practice.
Counted Breaths: Count your breaths to establish a rhythm. For example, inhale for a count of four, hold for four, and exhale for six. This method encourages mindfulness and keeps your mind centered on your practice.
Alternate Nostril Breathing: Close one nostril with your thumb and inhale through the other. Switch nostrils and exhale. This technique balances your energy and promotes relaxation.
By incorporating these breathing patterns into your practice, you’ll enhance your ability to hold the Kayang pose. You’ll also experience greater mental clarity and emotional balance. Remember, the breath is your anchor. Use it to guide you through each movement and deepen your connection to your body.
Lowering the Body
Gradual Descent
As you prepare to lower your body from the Kayang pose, take your time. A gradual descent helps maintain control and prevents strain. Start by gently bending your elbows. This action will help you lower your body with ease.
Next, slowly drop your hips towards the mat. Keep your core engaged to support your spine. Focus on your breath as you descend. Inhale deeply and exhale slowly. This rhythm keeps you calm and centered.
When your hips reach the mat, allow your back to relax. Feel the release of tension in your muscles. You’ve worked hard to achieve this pose, so give yourself a moment to enjoy the feeling of accomplishment.
Returning to Starting Position
Now it’s time to return to your starting position. Bend your knees and place your feet flat on the floor. Your feet should be hip-width apart, just like when you began.
Carefully roll your spine down onto the mat. Start from your upper back, then middle back, and finally your lower back. This controlled movement helps protect your spine.
Once you’re lying flat, take a moment to breathe. Feel the ground beneath you and appreciate the effort you put into the Kayang pose.
When you’re ready, gently turn to your side and push yourself up to a seated position. Sit comfortably and reflect on your practice. Each time you perform the Kayang pose, you build strength and flexibility. Celebrate your progress and look forward to your next session!
You’ve learned the essential steps to master the Kayang yoga pose. Remember to practice regularly. This consistency will enhance your flexibility and strength. As you progress, listen to your body. Each session brings you closer to your goals. Celebrate your achievements, no matter how small. Yoga is about connecting with yourself and enjoying the journey. Keep pushing your limits while respecting your body’s needs. Embrace the balance and coordination that come with this practice. You’re on the right path to greater well-being!
FAQ
What is the Kayang yoga pose?
The Kayang yoga pose, also known as Urdhva Dhanurasana or Wheel Pose, is a powerful position that enhances strength and flexibility in your back. It opens up your chest and shoulders while improving spinal flexibility.
How do I know if I'm doing the Kayang pose correctly?
You can check your form by ensuring your hands are positioned beside your head with fingers pointing towards your shoulders. Your feet should be hip-width apart and flat on the floor. Your hips should lift high, creating an arch in your body. If you feel a deep stretch in your back and chest, you’re likely doing it right!
Can beginners practice the Kayang pose?
Absolutely! Beginners can practice the Kayang pose, but it’s essential to warm up properly. Start with simpler poses to build strength and flexibility. Listen to your body and don’t push yourself too hard. Gradually work your way up to the full pose.
What are the benefits of practicing the Kayang pose?
Practicing the Kayang pose offers numerous benefits. It strengthens your arms and legs, improves spinal flexibility, and opens your chest and shoulders. Additionally, it can help alleviate stress and fatigue, promoting overall mental well-being.
How often should I practice the Kayang pose?
Aim to practice the Kayang pose regularly, ideally two to three times a week. Consistency helps improve your strength and flexibility over time. Remember to listen to your body and allow for rest days as needed.
What should I do if I feel pain while practicing the pose?
If you experience pain, stop immediately. Pain signals that something isn’t right. Adjust your position or take a break. Consider consulting a yoga instructor for personalized guidance. Always prioritize your safety and comfort.
Are there any warm-up exercises I should do before attempting the Kayang pose?
Yes! Warm-up exercises are crucial. Focus on stretches that target your back and shoulders. Poses like Downward Dog and Pigeon Pose can effectively prepare your body for the Kayang pose. Warming up helps prevent injuries and enhances your performance.
Can I use props while practicing the Kayang pose?
Definitely! Using props like yoga blocks or blankets can provide extra support. They help you maintain balance and comfort as you work on your form. Don’t hesitate to incorporate props into your practice.
How long should I hold the Kayang pose?
Start by holding the Kayang pose for 15 to 30 seconds. As you gain strength and confidence, gradually increase your hold time. Aim for a comfortable duration that allows you to focus on your breath and enjoy the stretch.
What should I focus on while practicing the Kayang pose?
Focus on your breath, body alignment, and maintaining a strong core. Pay attention to how your body feels in the pose. Embrace the stretch and enjoy the process. Remember, yoga is about connecting with yourself and finding balance.
See Also
Achieving Perfection in Plank Pose: Your Complete Guide
Boost Your Yoga Routine Using Kayang Methods
Perfecting the Headstand: A Comprehensive Instructional Guide

Hi my name is Lia and i am your host in this yoga journey in Portugal, Subscribe to our newsletter to receive every week the best of Yoga in Portugal.

We bring back the importance of initiation into womanhood by Roos-Veerle Krijnen & Ella-June Henrard
Welcome to the Women’s Initiation Retreat by Naked Truth Retreats, a transformative journey into the depths of your True Feminine Nature. This retreat invites you to remember the sacredness and wholeness of your being.
Roos-Veerle Krijnen & Ella-June Henrard